Bridal
or Bridesmaid Clutch
Every
brides wants the perfect way to say thank you to her bridesmaids. A
bridesmaid's job can be expensive and time consuming.....of course it
is a friends pleasure to do so. But she should definitely receive a
thoughtful thank you for her efforts. This tutorial is a great way to
say a big and personal thank you to your bridesmaids, mother of the
bride, and mother of the groom. Making an extra clutch for the bride
to match the bridal party it will be super cute!
Things
you will need:
Things
from around the house:
Scissors
Sewing
Pins
Ruler
Needle
and Thread
Optional:
Step 1:
Optional
I used
my Brother SE400 Embroidery Sewing Machine to embroider a heart with
the words “thank you” for inside your clutch. The heart is a cute
way of saying thank you to your bridesmaids, mother of the bride, and
mother of the groom. If you don't have an embroidery machine you can
always use iron on letters and iron them onto the heart.
Step 2:
Cut out
a 8 ½” x 11” sheet of felt and wrap the lace trim around one end
of the felt. My lace trim was a little over 4” wide and was perfect
for the dimensions of this clutch. After you completely wrap the lace
around the felt, fold the lace edge under itself and pin it down so
there are no loose edges. Sew all the edges of the lace down with a
sewing machine or with a needle and thread.
Step 3:
Where
you just sewed the lace down and have the seam of the lace is where
you should now fold the lace and felt assembly down on itself to
create a 3” pocket and pin it down. On the other side of the felt
layout the lace trim with the scalloped edge hanging over the felt
edge. But this time only pin the lace on one side and let the rest of
the lace hang over one edge. Take your satin heart and pin it down on
the lace. This will be the inside face of the clutch. Using a sewing
machine or needle and thread to sew the edges of the pocket and sew
down the lace and the heart. Once everything is sewn down take the
excess lace and wrap it in the front of the clutch. Now pin it down
and again fold the edge of the lace on itself to create a nice seam.
Sew all of the loose edges of the lace down with a sewing machine or
with a needle and thread.
At that
this point you have a beautiful lace clutch but if you want to do add
a little something extra follow the next steps.
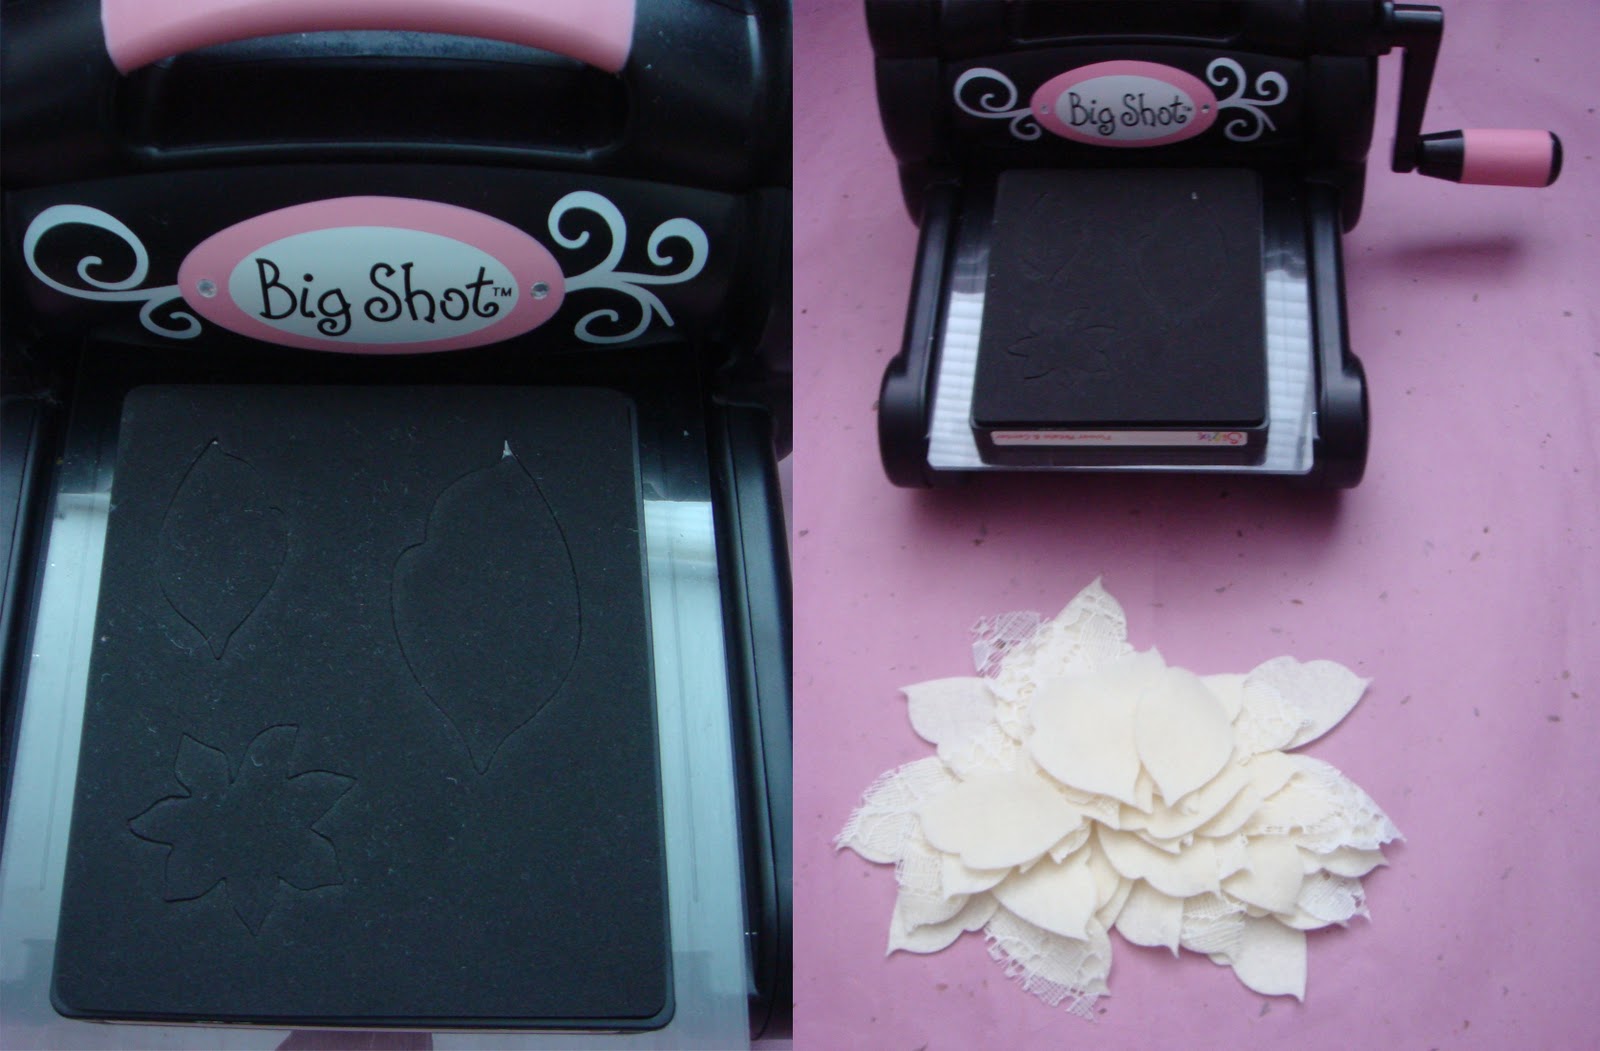
Step 4:
I used
my Sizzix Big Shot to die cut felt and lace petals to cover the front
of my clutch. You don't need to have a die cutter to cut the petals
but it is obviously much faster to use one. The alternative is to use
the DSMeeBee Rose Petal Template to cut out the petals out with
scissors. Cut about 30 large felt petals, 15 large lace petals, 6
small felt petals, and 6 small lace petals. After you have cut your
petals out set them aside.
Step 5:
Cut a
7”x3 ½” strip of felt for the front of the clutch and layout the
petals as you want them to be. I used layers of 4 petals alternating
felt and felt with lace petals to create layered flower effect. After
laying out each layer of petals I then sewed down that row and then
mirrored it on the other side. At the end using a needle and thread
sew down the small petals to create a small flower in the middle. In
the center of that small flower sew down a button.
Step 6:
Using a
sewing machine or needle and thread attach the strip of felt with the
petals sewed down onto it and sew that down on the front of the
clutch.
Now you
have beautiful, handmade, and personalized clutches for your bridal
party! Let your bridal party know how much you love them and how
thankful you are for all of their help! These clutches are also
awesome because you can fill them with small gifts such as jewelry
and give them to your bridal party at your rehearsal dinner. What a
lovely and thoughtful gift to show your gratitude!