

Rose
Clutch

This is
the second clutch of the DSMeeBee Bridal Clutch Collection. This is a
simple clutch with a Velcro closure. This clutch will make a
beautiful gift for any bride or bridesmaid. Making one clutch took me
about 30-40 minuets to finish with a sewing machine. The time you
spend will be well worth having these hand made clutches as part of
your bridal party's look.

Things
you will need:
- 8 1/2” x 11” Sheet of Felt
- ½ yard of fabric (any color)
- Non-Stick Velcro
- Ruler
Things
from around your house:
- Scissors
- Needle and Thread
- Pins
Optional:
- Lace
- Sewing Machine
Step 1:
Cut two
pieces of your fabric with a 1” boarder around your felt sheet.
Wrap the edges of the fabric around the sides of the felt sheet and
pin the fabric down. Being careful to fold the corners down and pin
them to be sewn. You can either use a sewing machine or sew by hand.
A sewing machine is obviously faster but sewing by hand also works.


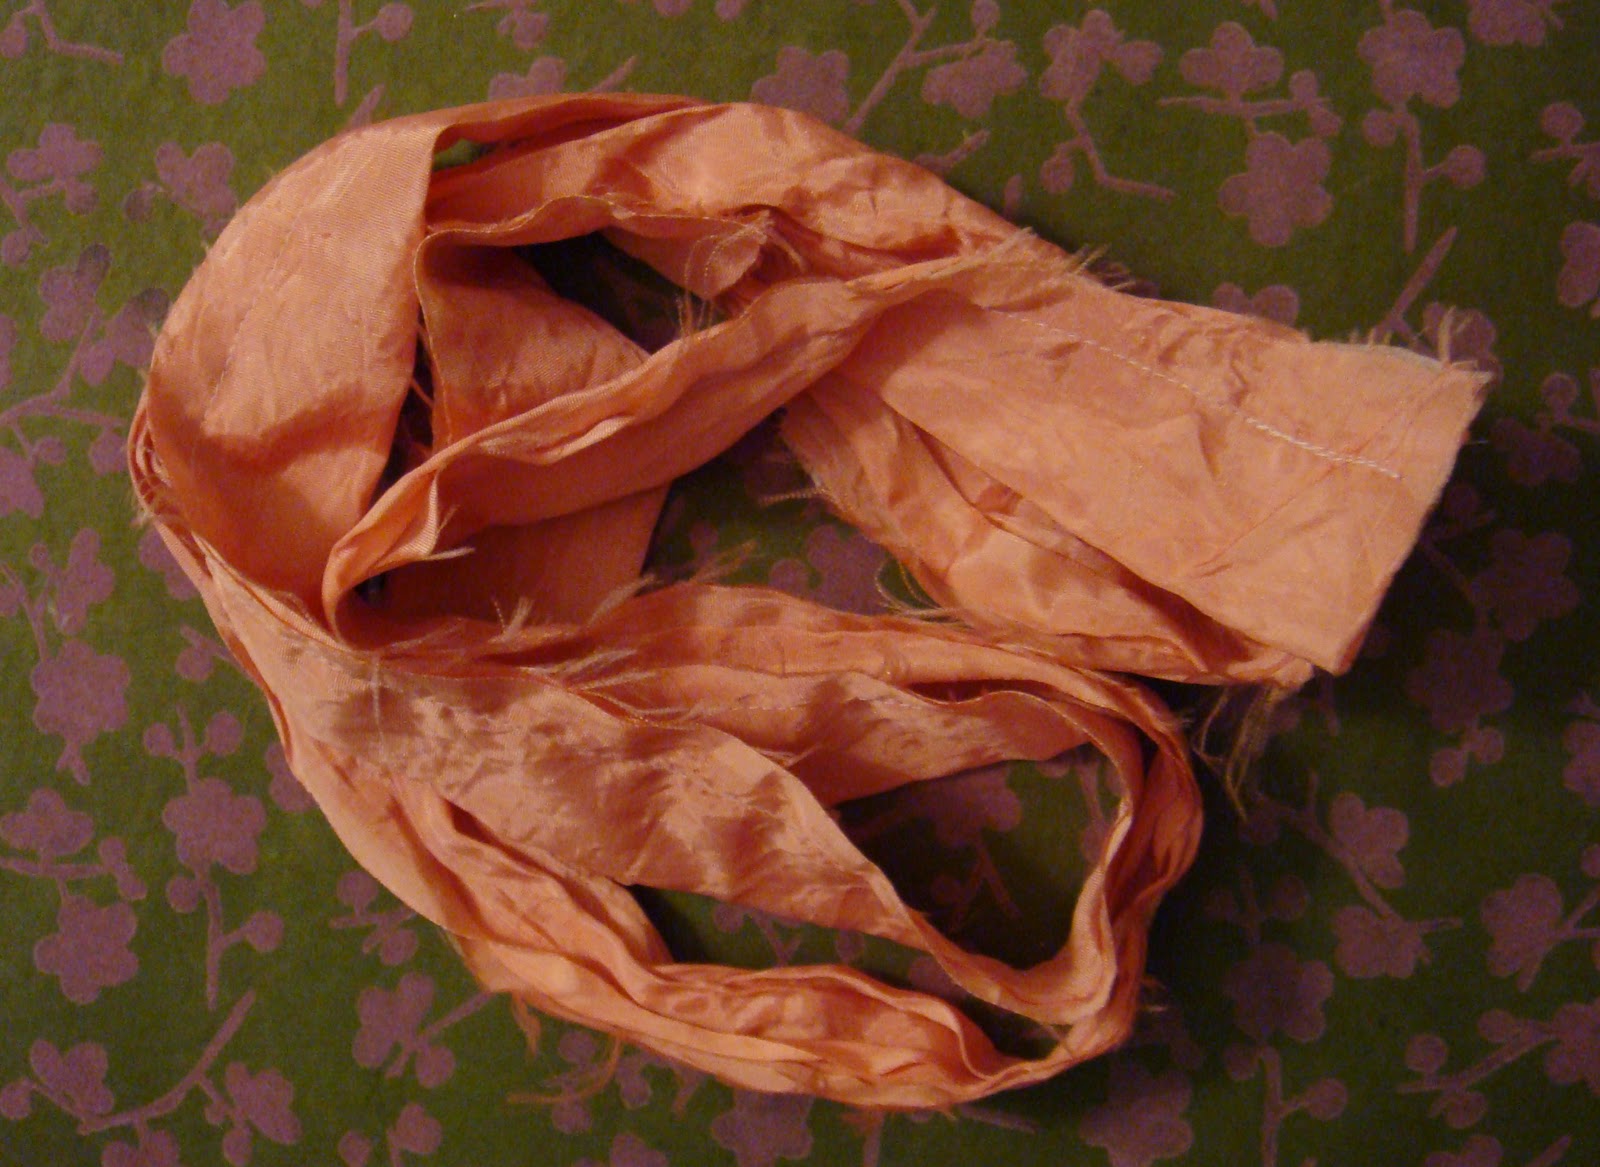
Step 2:
Cut a
strip of fabric about 36” long and 2” wide. Fold the strip in
half and sew along the cut edge.


Step 3:
Take the
felt and fabric piece that you already sewed together and fold it
into thirds with the fabric side down. You will be sewing one third
to the second third to form a pocket. The third third will be the
flap to cover the clutch. On the cover to the clutch roll the strip
of fabric you sewed together around itself and place it where you
would like your rose to be and make a small mark.

Begin
your fabric rose by rolling one end 3 times around itself. Sew that
piece down where you made that small mark on the cover of the clutch.
At this point I found it is easiest to use a needle and thread to sew
down the rose. Continue wrapping the strip of fabric around itself
and stitch down the strip every few inches. When you are at the end
of the strip of fabric tuck the rough edges down and continue
stitching. At the very end of the strip you will need to tuck the end
under the wrapped rose and stitch it to itself.


Step 4:
Fold up
the cover of your clutch and measure equal distance from each end to
place each piece of Velcro. (Use non stick Velcro it is much easier
to sew.) After you have sewn down your Velcro now you need to sew the
inside lining of your clutch.


Step 5:
As you
did in step 1 wrap your fabric lining so you have a nice edge around
your clutch. But only sew down one edge so you can locate and sew
down the opposite sides of the Velcro on the inner lining. After you
have measured and located the Velcro then pin the Velcro down. Make
sure the Velcro is in the right location before you sew it down. Once
you have sewn it down fold down the rest of the edges of your lining
and sew them down to the inside of the felt.


Now you
are done with your clutch but if you want the lace look you can sew
down the scalloped edge of a piece of lace on the cover of the
clutch. I think it adds a little something extra but it completely
optional.


Step 6:
Enjoy
your clutch! Give them to your bridesmaids or give one to a special
bride!
