Visit Mee on my Website!

Visit Mee on my Website!
Visit www.dsmeebee.com

Saturday, September 10, 2011

Brimfield Antique Show!!!!! Love IT!!!


Brimfield Antique Show

So today was my first time going to the Brimfield Antique Show. I had heard it was huge but huge does not give it justice.....it is humungous, jumbo, endless antique vintage goodness! I was there for about 6 hours and didn't even see the whole thing! There was so much to see it would be impossible to see everything that every vender had. The prices went from free to thousands of dollars. If I had the money I would right now be the proud owner or many beautiful furniture pieces. But the one that got away was a circa 1960 bar with working radio and record player. This unique furniture piece completely stole my heart. But not only was it over $1,000.00 but I would have had to buy a bigger car and bigger apartment to own it....someday! I love going to antique shows because they give me ideas for my own projects and also supply me with great one-of-a-kind pieces for my tutorials.

The things I did get were are as follows:

Circa 1960-1970 Wool Coat with Fox Fur Trim with matching skirt which I ended up paying only $80.00 for. I thought it was a total steal and the unique chic style will fit right into my closet. When I wear this coat I feel like Betty Draper from Mad Men but of course not as bitchy.

Vintage Beaded Collar for $5.00!!!! This piece is so cute and totally gives me inspiration for my own tutorial!

Shoe Box of Fabric for $3.00. There was a great tent of random fabrics and I got a shoe box filled for $3.00 which is an awesome deal!

1960 Apron with hand painted fawn for $3.00. I don't wear aprons but this beautiful apron inspires me to make a modern working wife's apron.

Painted China Plates for $1.00 a plate. I got these plates on an everything on this table is a $1.00 these plates will be great for my 3 tiered cake stands I am making for my wedding!
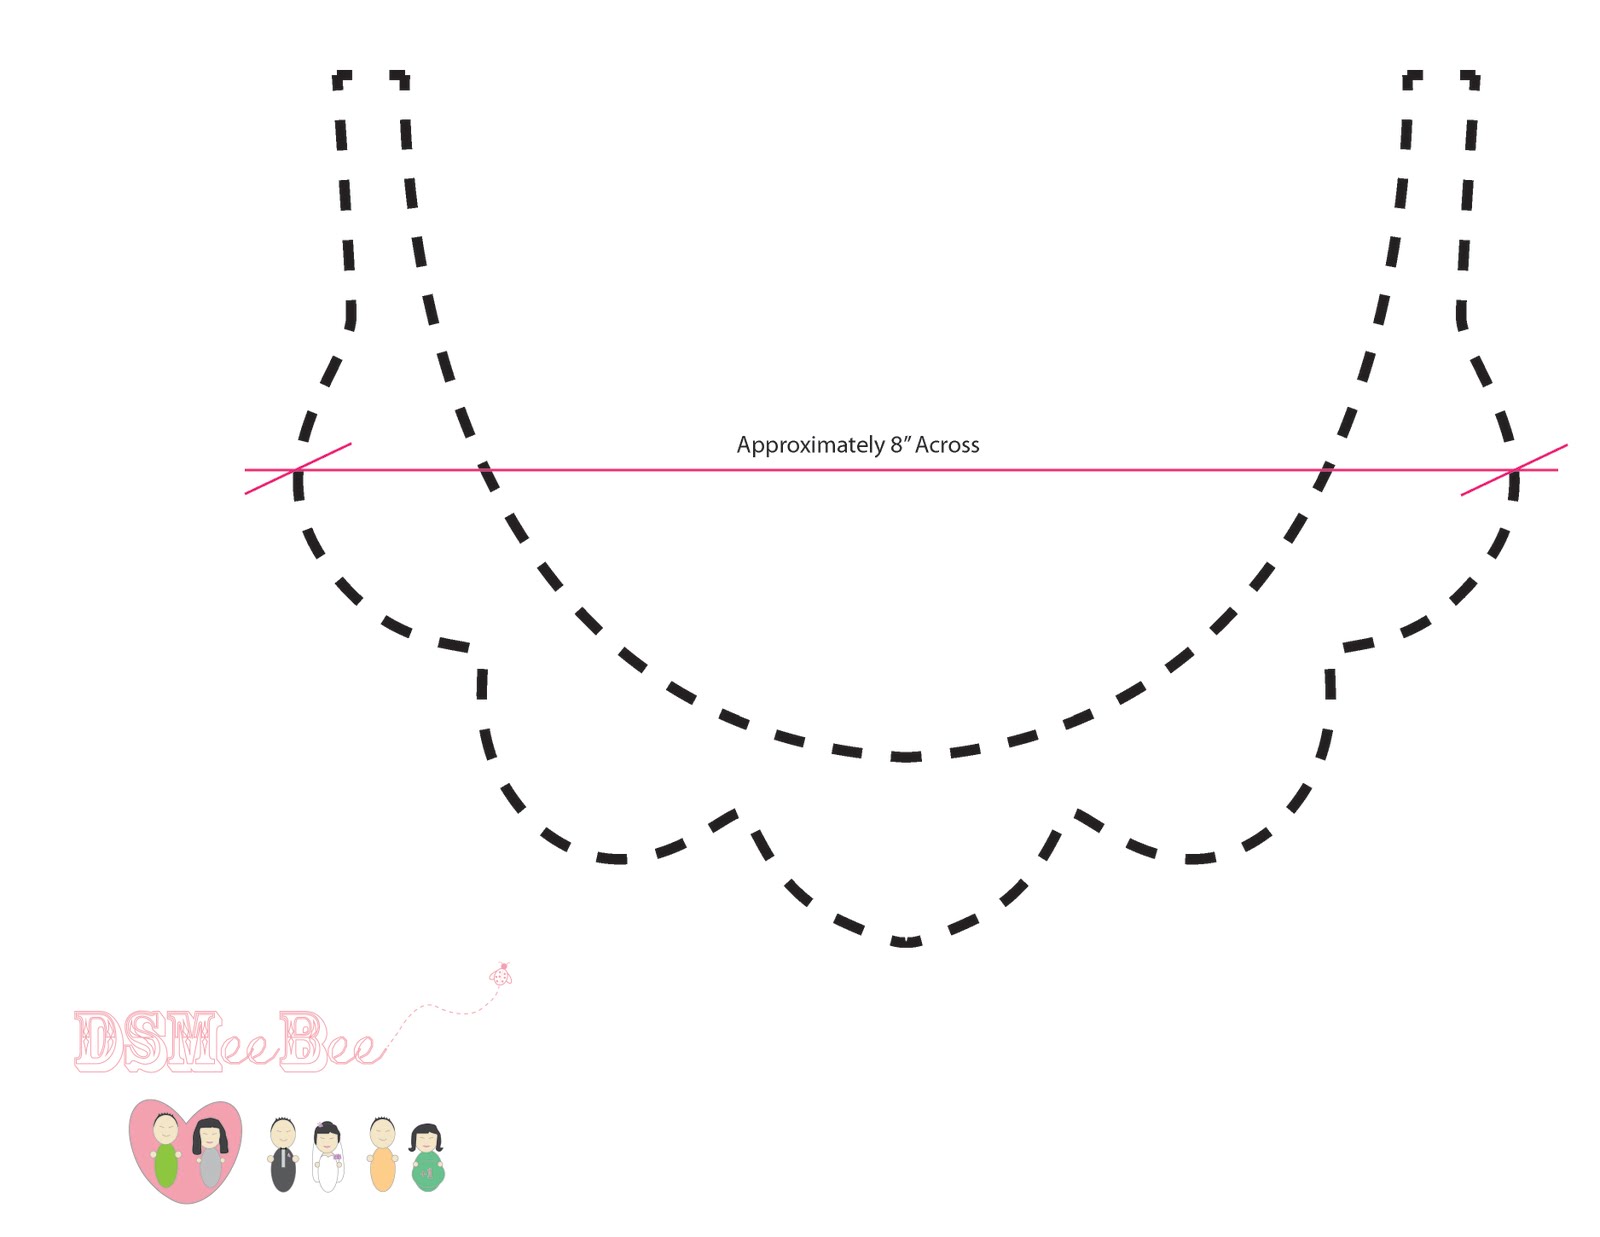
2 Pearl Necklaces for $1.00. I found these cute necklaces in a box of costume jewelry since they are so cheap I thought it would be worth getting the necklaces just for the pearls.

Crystal Chandelier Strands for free!!!!!! You never know when someone will just give you something for free. I found these Crystal Strands in a random box and asked how much they were and the vender gave me the 10 that were left in the box for free. I plan to used them in my center pieces for my wedding....of course tutorial to come!!!!

Friday, September 9, 2011

DIY - Vintage Broach Necklace

DIY - Vintage Broach Necklace
I honestly made this necklace in 20 minutes and then felt really proud of myself! This necklace is so super easy to make it kind of blew my mind! On top of how easy it was make it cost me about $10 and really looks beautiful! I’m so happy with it and I am considering wearing it for my wedding, but either way it will be a great go to piece for any girl’s jewelry box.
Things you will need:
  • Vintage Rhinestone Broach - $7
    • I got my broach from EBay (not real vintage but looks great). My only complaint is that it was from China and took a few weeks to get to me, but I feel like I totally lucked out because it is perfect.
  • Loose Pearls - $2
    • I also got my pearls from EBay and of course they are not real but I don’t really care about that (I just care about real diamonds!) I won my auction for $0.01 and paid $2.00 for shipping. GREAT DEAL!
  • Soft Flex Jewelry Wire - $0.50 a yard
    • I got my wire at Bead Works in Cambridge Mass. You can find this type of wire in any craft or bead store. You could probably use fishing line as well but it won’t be as durable as the soft flex.
  • Crimp Beads - $1.50 for 10
    • These are essential because they are the best way to keep your beads in place.
  • Jewelry Clasp - $2.00 for 50
    • The jewelry clasps I got were from Michaels and they are great because they come with the pinch clasp and the loop that will connect the necklace together.
Things from home:
  • Needle Nose Pliers
  • Scissors
  • Super Glue
Step 1:
Flip your broach face down and super glue the pin closed. This is to secure your broach from opening because the pin is where you will be connecting your pearl strands to.
Step 2:
String your loose pearls or beads onto the soft flex wire. Measure the length you want for your necklace. I used one strand 9 1/2” and the other 5 1/2” long because I wanted my broach to be asymmetric. Take one of your strands and allow for an extra inch on each end. String on one of the crimp beads and wrap the flex wire around once end of the broach pin. Loop the flex wire back into the backside of the crimp bead and when it is tight crimp it down with your needle nose pliers. On the other end of the pearl strand string on one of the crimp beads and the clasp, loop the flex wire back into the other side of the flex wire and don’t allow for much slack between the last pearl and the crimp bead. Once you feel the beads are secure crimp down on the crimp bead with your needle nose pliers. Repeat this on the other strand except instead of the stringing on the clasp, string on the jewelry connector that the clasp will connect into.
Step 3:
If you can believe it YOU’RE DONE! The greatest part of this necklace is that you can totally change the design to custom fit your mood or change the style for different occasions. I love my quick and easy vintage pearl necklace and I hope you will love yours as well! Also if you have a crazy Mom or Grandma with tons of costume jewelry grab one of their broaches and make your necklace an heirloom.


Tuesday, September 6, 2011

DIY - Pearl, Lace, Felt, and Ribbon Bib Necklace


This simple easy to follow tutorial will make you a beautiful necklace for a bride, bridesmaid, mother of the bride, or just for a night out. You can make a unique piece of jewelry for a wedding, honeymoon, or rehearsal dinner to make it extra special. The best part will is that this gorgeous necklace will cost you less than $10 to make. Chic style for less....can't beat that!
Things you will need:
  • DSMeeBee – Free Bib Necklace Stencil
  • Satin Ribbon - $0.50 a yard
    • Depending on how low you want your necklace to hang get the more or less ribbon. I used 2 yards of ribbon for my necklace, 1 yard for each side.
  • 8 ½” x 11” sheet of felt – $0.50
    • Any color felt you want, I used Ivory.
  • Lace Trim - $.40 a yard
  • Loose pearls of different sizes - $2.00
    • I bought mine on Ebay!
  • 24” strand of pearls - $2.00
    • I bought mine on Ebay!
  • Foam Brush - $0.50
Things from home:
  • Scissors
  • Elmer’s Glue
  • Gorilla Glue
    • The one that drys white and 2x faster....this stuff is crazy good but only use a little because it expands when it dries.
  • Needle and thread
  • Pen


Step 1:

Print out the DSMeeBee – Free Bib Necklace Stencil fold it in half and cut it out. Using your foam brush paint a generous amount of Elmer’s Glue on to the lace trim and place it on to the felt. Fold the glued felt and lace in half and trace the stencil on to it, then cut it out. When you unfold the felt with the lace facing up and add more Elmer’s Glue. 


Step 2:

I used 3 different loose pearls 2 the same size and 1 larger in each rounded part of the felt bib. Layout each of the loose pearls where you want them to be and using a small dab of Gorilla Glue and stitch each loose pearl down. 


Step 3:

Cut your ribbon the length you want (I used 12” for each side) and stitch the ribbon to each side of the felt bib. Using an iron fold down the end of the ribbon and iron it down and then fold it down again on top of itself and iron it again. Thread a loose pearl onto the needle and thread and stitch it onto the folded end of the ribbon. Then stitch another pearl on the opposite side of the ribbon. I used 3 pearls on each side of the ribbon totaling 6 pearls on each ribbon end. 


Step 4:

Using a 24” strand of pearls was just there right amount for this bib necklace. The strand I used was perfect because each pearl had a knot holding it into place. So when I cut it to length no pearls fell off. But if you can't find a strand of pearls like that thread the pearls onto a thin string and knot it off. Around the edge of the felt bib put a thin line of Gorilla Glue and glue down the strand pearls. Make sure you don't put to much glue because when it dries it expands and you don't want there to be glue residue around your pearls. Once you glue the pearls down let the whole assembly dry for at least 30 minute before you try to move it. For extra security stitch down different areas of the pearl strand but if you glue it right the Gorilla Glue should hold down the pearls without stitching. 


In these 4 easy steps you can create a one-of-a-kind beautiful necklace. When people comment about how much they love it and you know they will. You can say “I know a great jewelry designer who can make you one” and then totally brag that it was you!

Wednesday, August 31, 2011

Sunday, August 28, 2011

Quick, Easy, Cheap, Fun, and Beautiful Felt Bridesmaids Bouquets

This unique bouquet can be made in a few hours and will only cost you around $5 a bouquet. Since this is a non-traditional non-flower bouquet it can be kept for years to come. This will be a beautiful keepsake for your bridesmaids and can be made in any color to match your wedding colors.

What you will need:
  • Felt – Joann Fabrics $3 a yard
    • For 1 bouquet you will need about ½ a yard.
  • Lace Trim – Local Fabric Store $0.39
  • Dowels – Michaels Craft Store $2 for 20
  • Pins – Michaels Craft Store $2
    • I found great sewing pins with pearl heads.
  • Gorilla Glue – Target $6
  • 2 ½ ” Foam Ball – Local Fabric Store $0.39
  • Trim – Local Fabric Store $1 a yard
  • Hack Saw – Home Depot $4
Things around the house:
  • Scissors
  • Glue Gun
Optional:
  • Sizzix Big Kick Die Cutter – Joann Fabrics $70
    • If you need to cut a ton of the same shape investing in a Big Kick Die Cutter is totally worth it but not necessary for this project.
  • Sizzix Heart Die Cutter – Joann Fabrics $10
Step 1:
If you are using a Die Cutter cut out appropriate size squares and start die cutting hearts. If you are cutting out hearts by hand make a paper template about 3” at the widest part of the heart and start cutting. The amount of hearts you need will depend on the size foam ball you use. I used a 2 ½ ” foam ball and the bouquet came out to be approximately 6 ½ ” in diameter. But you will know how many hearts you will need once you start filling in the foam ball. Depending on how dense you want your bouquet you will probably need around 80-100 cut out hearts.
Step 2:
The dowels I got were 12” long so I took 3 of them and cut them in ½. Get out your hot glue gun and start gluing the 6” dowels together one by one. Once all the dowels are glued together run a line of glue along one of them and glue the edge of the lace onto the bundle. Wrap the lace around the dowels and glue the loose edges down. Now take your trim and glue it down on top of the edge of the glued lace. Now you have your handle!
Step 3:
Take your foam ball and push your dowel handle into the bottom of it until it feels secure. Then for added stability take out the handle and put some Gorilla Glue into the hole and put the handle back into the foam ball.
Step 4:
Take your pile of cut out hearts and take 4 out and arrange them like a 4 leaf clover. Glue each point of the heart to the next and fold the clover on top of itself and glue again. Fold the flower in half again and put a pin into the point of the flower. Put a little Gorilla Glue on the foam ball and pin the flower down. The nice thing about Gorilla Glue is that it expands when it dries. So it is the perfect glue for securing down your flowers into the foam ball.
Step 5:
Follow step 4 until you reach the handle at the base of your bouquet. Here I only folded my felt flowers in half once and pin/glued them down around the handle.
Step 6:
YOUR DONE! How easy was that! Now you have a beautiful bouquet for your bridesmaids for only around $5 each! These bouquets will give you all the look you want for your wedding for none of the cost!